In this tutorial, you will learn how to install PHP Server on Windows, Linux, and macOS. And install MySQL and PHPStorm IDE of PHP Applications.
Table of Contents
PHP is a scripting open-source language created to develop web applications. There are over 50 million domains in the world that are based on PHP and that makes it the most popular web application language.
Install PHP Server and MySQL on Windows
Normally, there are many server applications that save your time. They are including all tools and extensions you will use with PHP like MySql, PHPMyAdmin, Apache HTTP Server, and some other tools. These applications like WampServer and Xampp.
Install PHP and MySQL using WAMP Server
WampServer is an environment designed to help users to create their web applications on their local machine using the Windows operating system. WAMP word means Windows Apache Mysql PHP the all collected together on only one install.
To install the wamp on windows you need first to navigate to the wamp official page.
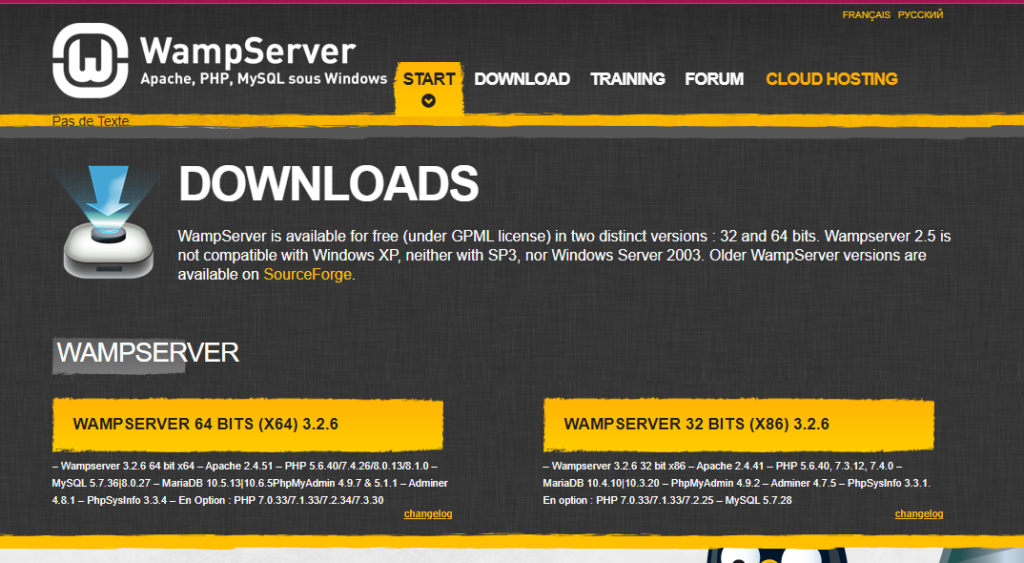
Here we have to download the installation by clicking on the proper button according to your window system type ( bits64 or 32) of the above image.
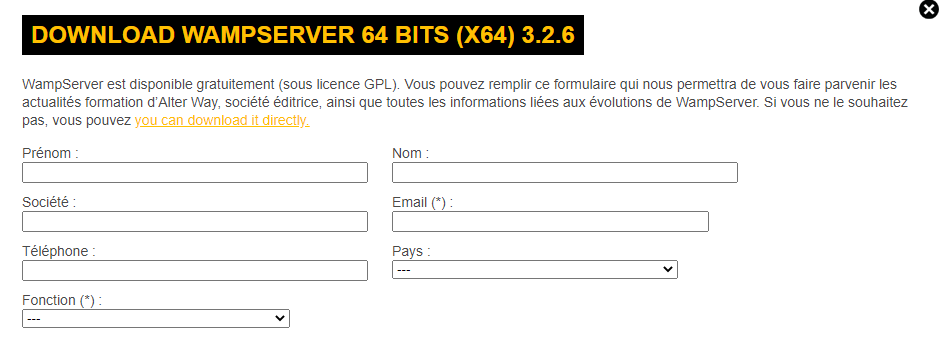
It will show you a popup box containing warning messages and an empty form. Don’t worry about these messages you only have to click on the download link ( you can download it directly ).
The installation is being downloaded, once it finished double-click and you have to start the following step by step.
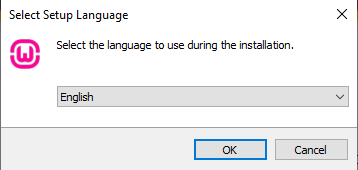
In the above image, you have to select the language of wamp installation. Then it will show you the license agreement screen just accept it and click on the Next button.

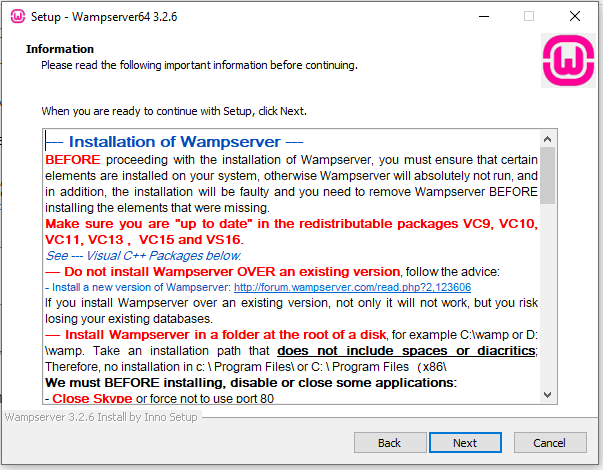
The next step it will show you some information about wamp just click on the Next button.
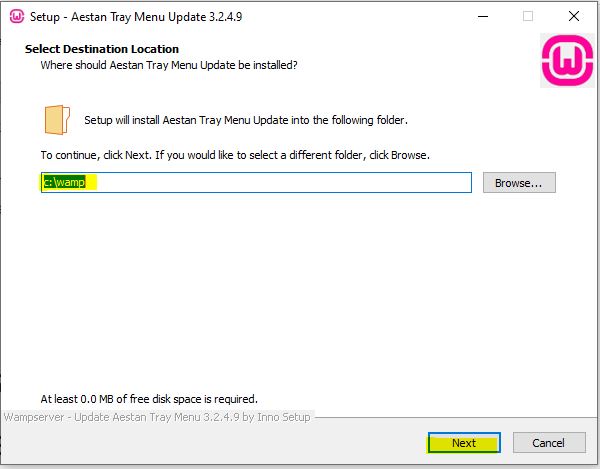
Then it will ask you, what is the destination location for this installation. We advise you to remain on the default path.
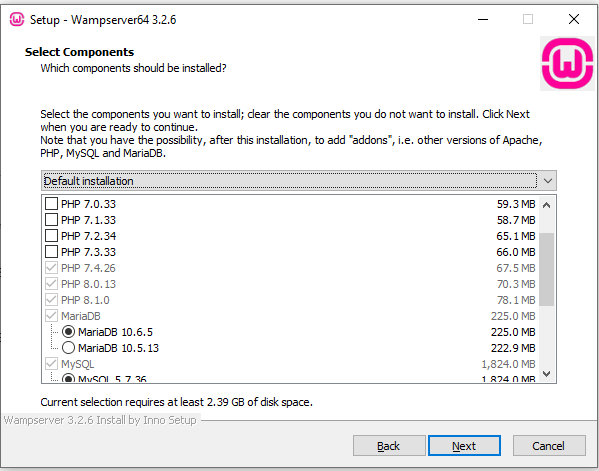
In the next step, the program will show you another screen containing all components of the wamp installation you just have to choose the needed versions of each package and there are some default components that are being installed directly with the software package like apache, default PHP version and so on.
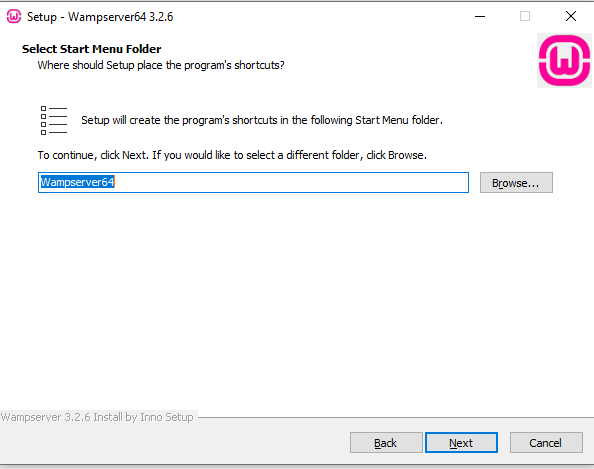
The next step will show you another screen that asks you to select the start menu folder location and just remain the current default option.
Here will show you the final screen of the installation containing a summary of options you made before, just click on the install button.

Once the installation is finished just click on the finish button.
Common Issues
If you faced any problem you just have to ensure that your machine has the following needed apps besides the wamp :
- Visual C++ Packages
- Another issue is that you have already an old version for wamp on your machine.
Create PHP Project with Wamp
To start a new PHP project in the wamp. Firstly you have to play all services on the wamp like apache, PHP, and MySql. And to do that follow the below steps.
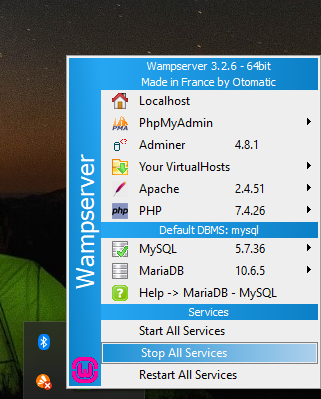
Click on the windows start menu search about wamp and play it. To make sure that all services already started. In the taskbar with your right hand, there is a small arrow once you open it you will see a wamp icon just click on it
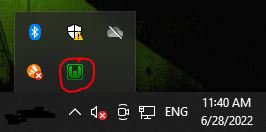
It shows you a green color icon, this means all services are working correctly. and if you need to restart the wamp click on this green icon it will show you the wamp menu that contains all services.
In the next step, we have to create our PHP project. Do you remember where did we install the location of the wamp server? It is in the C:/ partition if you scroll up to the location screen you will find the right path of it C:\wamp64.
Inside this folder, we have to navigate to the www folder, and here we can create our first project folder with PHP.
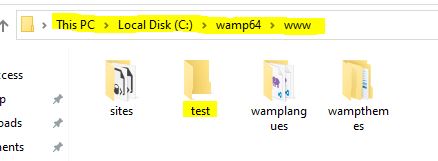
As you saw in the previous image, we created a test folder for our PHP project and inside it, we created index.php file containing the below code.
<?php echo "Hello World"; ?>To see the PHP code result, open your browser and navigate to this URL “localhost/site“. Actually, when you load the page there are some processes that happen behind the scene to interpret the PHP source code.
Install PHP and MySQL using the Xampp Server
Before we explain how to install XAMPP we just need to define what are XAMPP stands for? the letters inside the XAMPP word mean “Cross-Platform (X), Apache HTTP Server (A), MySql (M), PHP (P), Perl (P)“. It is an environment that helps us to create a local web server on our machine.
To install XAMPP follow the below steps one by one.
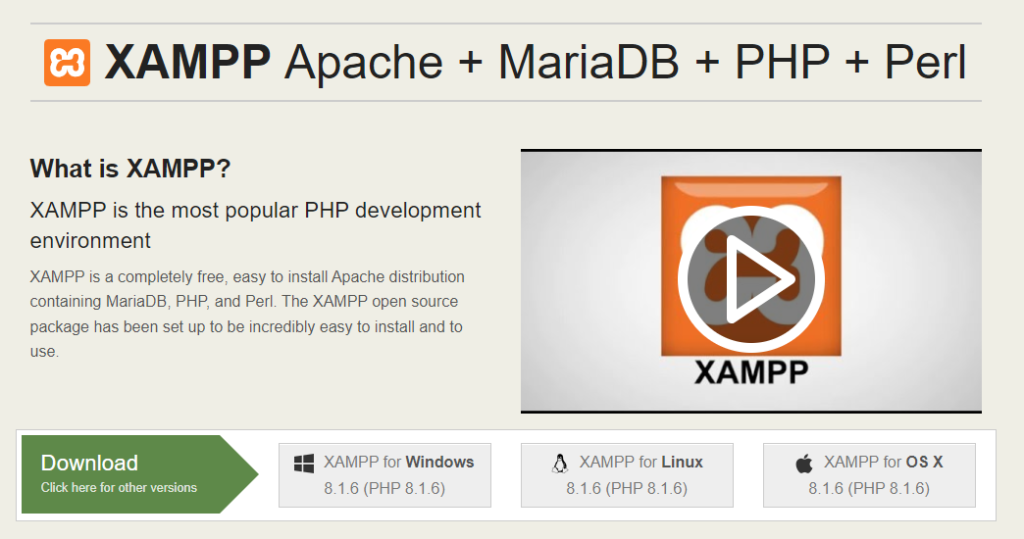
Open your browser and go to this URL apachefriends.org, the next step you have to select the proper installation according to your operating system. It can work on Windows, macOS, and Linux.
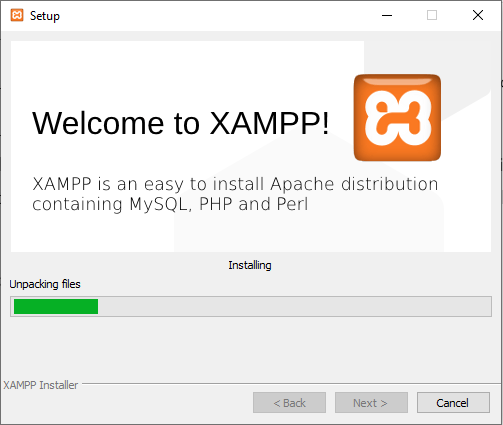
Once the download is being finished double-click on the installer
The program will show you a welcome screen like the below image, you have to click on the Next button.

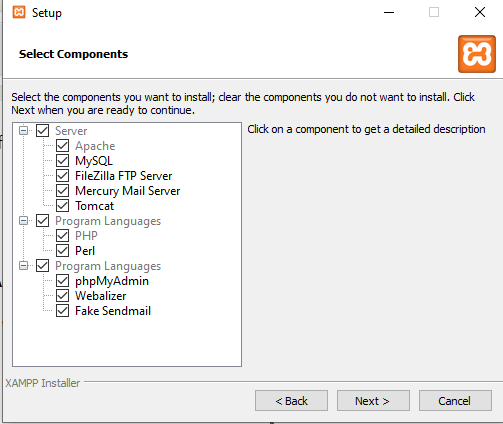
The next screen will show you the program components, just remain the default choices and click on the Next button
In the next step, the program will show you the next screen containing the installation location just select a new path for the installation or remain the default path.

It will show you on the next screen an option to select the application language. select it then click on the Next button.
Once you moved to the next screen, it will show you an optional about if you like to install bitnami for XAMPP. just click on the Next button. Then on the final screen also click on the Next button to start the installation.
In the final step, in the completing screen, just click on the finish button.
Your PHP projects should be created in the “htdocs” folder. you can find it in this path in your machine “C:\xampp\htdocs“. Then you can see the result using your browser “localhost/…“.
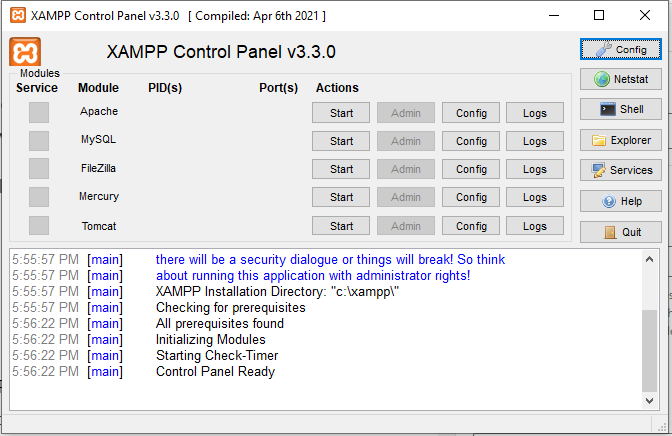
Here is the final image showing you the XAMPP Control Panel that and you can start or stop any of the services as you like.
Install PHP Server On Linux
On Linux, we can use the previous XAMP program to install the PHP environment. But some other developers like to install the PHP using the terminal. And to do that you have to install all other tools as a lone like Apache, MariaDB, MySQL, PHPMyAdmin, and so on.
In this section, we only go to install PHP and Apache HTTP Server if you like to know more about the other tools just install LAMP.
Firstly, to install the apache server you have to use the below commands.
// Update Ubuntu Package
sudo apt update
// Install Apache2
sudo apt install apache2 In the next step, open your browser and navigate to localhost you should see a web page like the below image.

To restart the apche2 HTTP server use one of the below commands
sudo /etc/init.d/apache2 restart
-- OR
sudo service apache2 restartThe next setup will be the PHP scripting language installation. Just run only the below commands to install it
sudo apt update
-- Install PHP
sudo apt install php libapache2-mod-phpThe previous command will install the latest version of PHP. But if you need to install the old version just put the version number beside the PHP word
sudo apt install php5.6To install MySQL use the following command through the ubuntu terminal.
sudo apt install mysqlInstall PHP Server on macOS
To install the PHP package on your macOS machine you need to use homebrew. If you don’t have it just run the command in the brew.sh according to the instructions there.
In the next step, we need to install the PHP package using the brew command
brew install phpAnd to install MySQL use the following command.
brew install mysqlInstall PHP Storm IDE
PHPStorm is created by JetBrains, to download it navigate to JetBrains and download the product according to your operating system. They support Windows, macOS, and Linux.
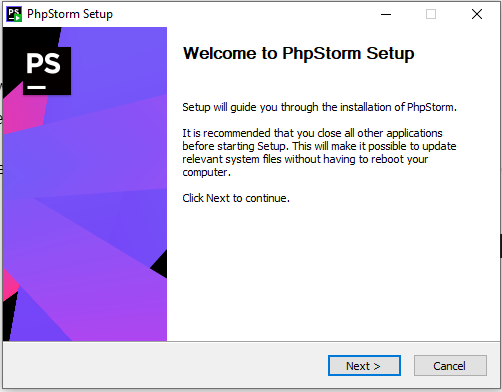
Once you download it just click two times on the app, and the program will start the installation with the welcome screen. Then click on the Next button.
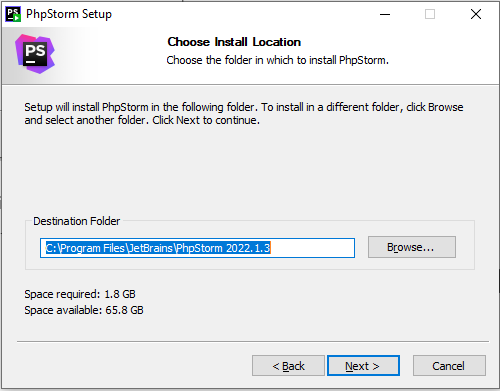
The next screen asks you to choose the install location. If you don’t need to choose a path for the installation just remain it with the default location. And click on the Next button.
And then the program will show you options to choose from. Like if you need to create a shortcut from the program on your desktop, Update the context menu, and so on.
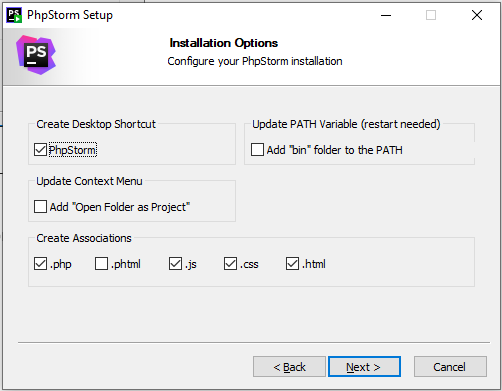
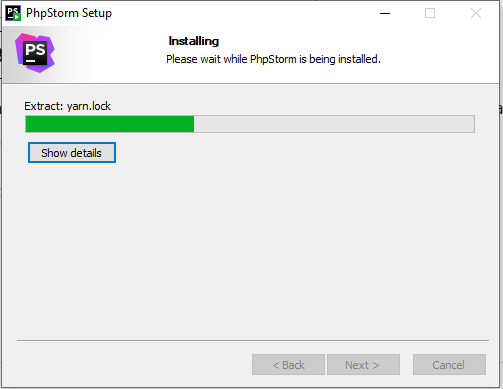
Once you click on the next button it will show you the final screen containing a summary of the selected options. Just click on the install button.
On the final screen, check on “Run PHPStorm” and click on the finish button. It will show you terms agreement. Just check on it and then click on the continue button.
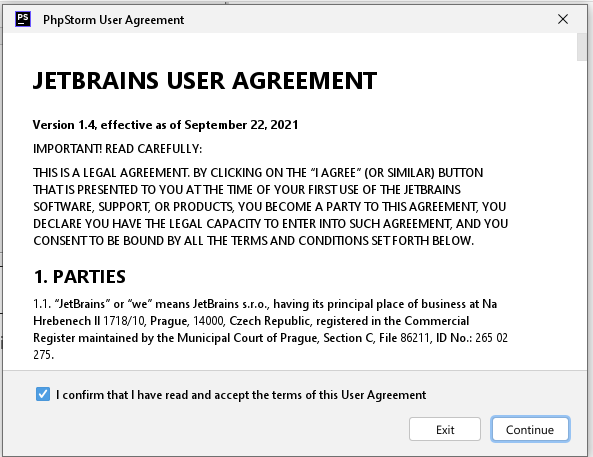
And finally congratulations, it is ready.
Install XDebug Extension
XDebug is an extension created for PHP to help developers to profile and debug the capabilities during the development stage.
To install XDebug navigate to the official page to learn more about the installation guide.
Before downloading the XDebug we need to know what is the version already installed in the local web host for PHP. In this case, our current PHP version is 7.4.26
So we need to download the compatible version for our PHP.

the Installation Process
- Once you downloaded the DLL file you just need to move this file location into your server directory. In our case, we are using the XAMPP server so the DLL file location should move to the “ext” folder
C:\xampp\php\ext. - In the next step, we need to do some changes to the php.ini configuration. You will find it in this location
C:\xampp\php. - Open the php.ini with any code editor and add the following lines
zend_extension="C:\xampp\php\ext\php_xdebug-3.1.5-7.4-vs16-nts-x86_64.dll"
xdebug.remote_enable = 1
xdebug_remote_autostart = 1- Then restart the XAMPP.
- To ensure that everything are working good, open phpInfo page and search about
xdebug.remote. It should show you an enabled option.
Conclusion
In this tutorial, you learned how to install PHP in famous operating systems like Windows, macOS, and Linux. Also learned how to install WAMP, XAMPP, PHPStorm, and XDebug.