In this tutorial, you will learn how to install Git Bash on various operating systems, such as Windows, macOS, and Ubuntu.
Table of Contents
Before getting started, let’s take an overview of Git.
Git is a version control system designed to monitor all updates and changes to a project’s source code. It is intended to assist project managers in storing and tracking all changes through commits, allowing them to rollback to any previously made modifications.
Anyway, let’s install git on the Windows operating system.
Install Git on Windows
To install Git on the Windows operating system, go to the official website and download the Git installer.
Once you’ve downloaded it, double-click the installer to begin the installation procedure.
It will display a screen with some information regarding the installation licensing. Just click the “next” button to proceed.

It will display another screen with the destination location. To alter the location of the git package, click the “browse” button. But I propose that you keep the default choice and click the “next” button.
In the next screen, it will show you options for the program components.
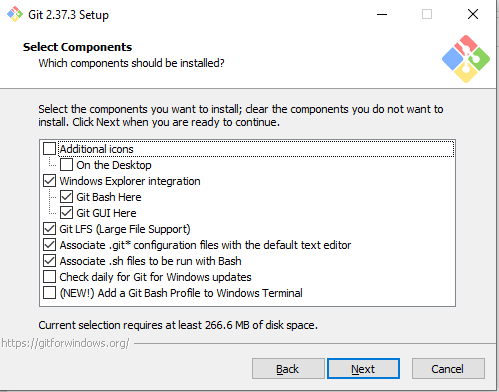
Simply keep the default settings and click the “Next” button.
You will be able to choose the git bash default editor on the next screen. Simply choose “Use vim as the default git editor” as the first option.
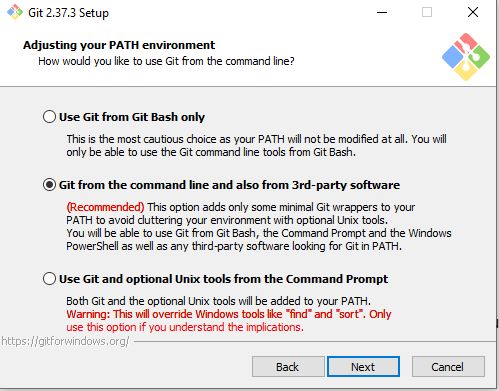
You have options to modify your path environment on this screen. Simply select the suggested choice and press the “next” button.
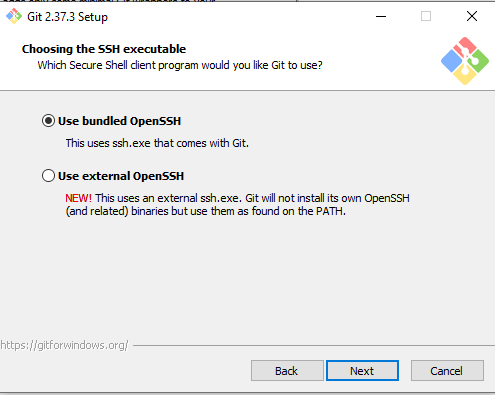
You will notice the SSH executable option in the following step. Simply leave it at the default setting.
You will see an additional option for the HTTP transport backend in the screen that follows. Simply select the default setting and press the “Next” button.
You will see another choice to select the Windows command style on the screen that follows. Press the “Next” button to utilize the default.
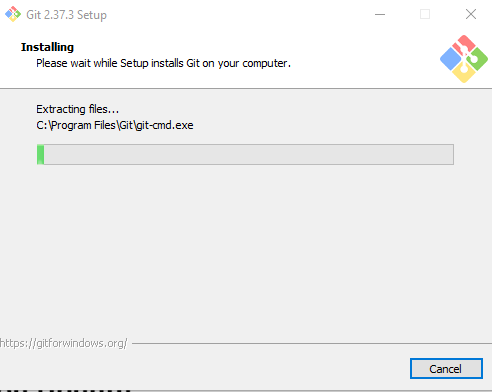
You would see the final screen after selecting the default selections. Simply click the install button, as shown in the picture below.
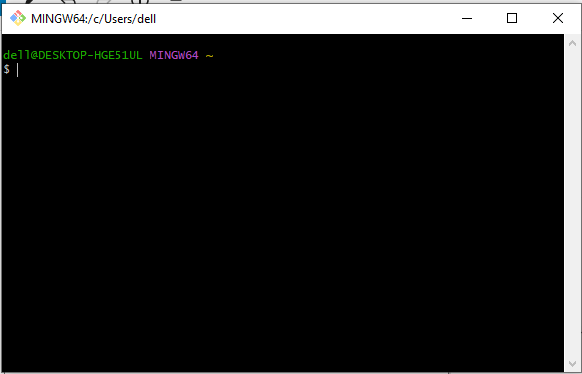
Simply click the Windows icon and search for git bash to launch git bash. An interface for the command line will open.
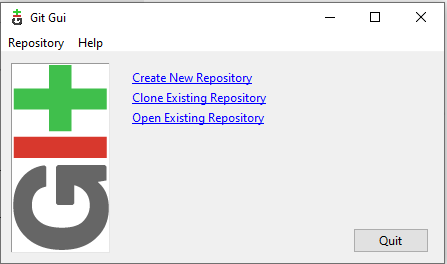
You can use a different program if you are not comfortable with the git bash instructions. It’s called the Git GUI.
You may use the git bash command to find out the current version of git on your computer by simply typing the following:
git -vLet’s go to the Ubuntu operating system installation procedure.
Install Git Bash on Ubuntu
In this step, I’ll install the GIT remote system using the Ubuntu apt package. Come on, let’s do it.
Firstly, you must upgrade the current Ubuntu package first. You must run the following command in the terminal in order to accomplish that.
git apt updateNext, use the following command to begin the installation of Git:
git apt install gitThe next git command must be executed in order to obtain the most recent version.
git --versionI’ll switch to a another well-known operating system and explain how to install git there in the upcoming part. Now let’s get going.
Install Git Bash on macOS
You must visit the official page in order to install git bash on a macOS computer. and begin the download procedure.
After it’s done, simply follow the directions on the installer screen to begin the installation.
Installing the git control system via the terminal is quite simple; simply type the following command:
brew install gitAll right, let’s get started with the local machine’s git settings.
Configure Git with Email and Username
To provide the current user on the local computer and make this user known in every git project, use one of two git commands.
The following git command can be used to configure the username.
git config --global user.name [YOUR NAME HERE]Use this git command to setup the email.
git config --global user.email[YOUR EMAIL HERE]Let’s summarize it.
Wrapping Up
In this tutorial, you have learned how to install Git on your operating system, such as Windows, Ubuntu, and macOS. Here are the key points:
To install Git on Windows, you need to download the Git installer from the official website. Then, follow the installation steps by clicking on them to start the download process. Just keep clicking “next” on all of the prompts until you complete the steps;
If Git Bash does not suit your needs, you can opt for the Git GUI instead.
Additionally, you also learned that installing Git on Ubuntu involves a slightly different process, but nothing overly complex. Through the terminal—a space where you input commands—you will update your system and proceed to install Git. This process encompasses a few commands, such as updating your package list and installing Git. Following these steps, you can verify your Git installation by checking the version, ensuring everything is properly set up.
The procedure is the same for users of macOS. You may install Git using Homebrew, a handy utility, or download it from the official website. Homebrew functions similarly to a magic wand when it comes to installing software on a Mac; all it takes is a flip of the wand or a short command to get Git working.
To verify whether Git is installed successfully, you may run this short command: git -v.
Additionally, to see more Git tutorials, just click here.
Thank you for reading. Happy Coding!